Connect AR & AI: Chat GPT API
Welcome to the exciting intersection of Augmented Reality (AR) and Artificial Intelligence (AI). Today, we're going to dive into creating an Onirix experience that integrates a conversational AI, specifically ChatGPT.
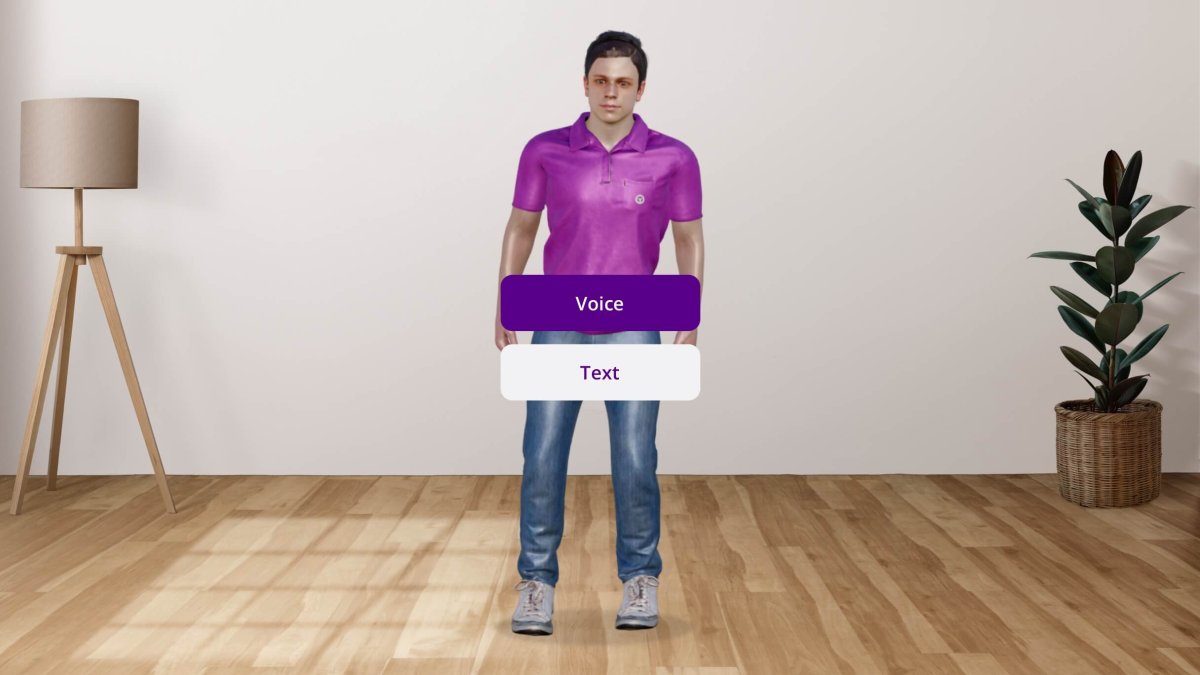
In this example we are going to explain how to connect one of our AR experiences, for example by using a 3D avatar, such as a virtual assistant, which is able to answer your questions, connecting to a knowledge base such as the GPT Chat API.
Setting Up the User Interface
HTML
Our AR assistant's user interface comprises of 2 buttons for selecting voice or text input. An input form for typing a question in case 'text' option is selected, and a status component.
<button id="voice-button" class="button hidden">Voice</button>
<button id="text-button" class="button hidden">Text</button>

<form id="text-form" class="faded">
    <textarea id="question-text"></textarea>
    <button id="close-text-form" type="button">
        <img src="https://www.onirix.com/ox-experiences/onirix/close-bg.svg" alt="Close"/>
    </button>
    <button id="submit-text-form" type="submit">Send</button>
</form>

<div id="status" class="Listening hidden">
    <span class="status-name for-listening">Listening...</span>
    <span class="status-name for-thinking">Thinking...</span>
    <div class="status-icon for-listening" id="microphone-icon"></div>
    <div class="status-icon for-thinking"><div class="spinner"></div></div>
</div>
CSS The styling gives life to our panel, making it inviting and responsive.
.button {
    display: block;
    box-sizing: border-box;
    width: 170px;
    height: 48px;
    padding: 13px 13.5px;
    border: 0;
    border-radius: 10px;
    font-size: 16px;
    line-height: 22px;
    font-weight: 600;
    transition: bottom 0.5s ease-in-out,
        left 0.5s ease-in-out,
        width 0.5s ease-in-out,
        height 0.5s ease-in-out,
        opacity 0.5s ease-in-out;
    user-select: none;
}

#voice-button {
    position: fixed;
    bottom: 90px;
    left: 50%;
    transform: translateX(-50%);
    background-color: #580088;
    color: white;
    opacity: 1;
}

#text-button {
    position: fixed;
    bottom: 30px;
    left: calc(50% - 85px);
    background-color: white;
    color: #580088;
}
Setting Up interactions and behaviour
Enabling Voice Synthesis with AWS Polly
We integrate AWS Polly for text-to-speech functionality, giving our avatar a voice. We have defined a class called PollyTextToSpeech which encapsulates all its funcionality.
You just need to make use of the say method to make the avatar talk:
    async say(message, onPlayStart = undefined) {
        const url = await this.getAudioUrlForMessage(message);
        await this.load(url);
        if (onPlayStart) {
            onPlayStart();
        }
        await this.play();
    }
}
Integrating Onirix Embed SDK
We use the Onirix Embed SDK to control the scene and avatar animations.
import OnirixEmbedSDK from "https://unpkg.com/@onirix/embed-sdk@1.2.3/dist/ox-embed-sdk.esm.js";
const embedSDK = new OnirixEmbedSDK();
await embedSDK.connect();
// ... Scene loading and animation control
Connecting ChatGPT (Azure API)
We create a function to send user queries to ChatGPT and process the responses.
For the invocations to ChatGPT, we have created a class GPT35ChatModel, which uses Azure API to access a custom model. You can use this class with you own params and just call ask method to launch queries to the AI:
async ask(message) {
        const headers = {
            'api-key': this.API_KEY,
            'Content-Type': 'application/json'
        };
        const context = this.getContext({role: 'user', content: message});
        const response = await fetch(this.API_URL, {
            method: 'POST',
            headers: headers,
            body: JSON.stringify({ messages: context })
        });
        const responseData = await response.json();
        const choice = responseData.choices[0];
        if (choice.finish_reason !== 'stop') {
            return undefined;
        } else {
            return choice.message.content;
        }
}
Try yourself our demo
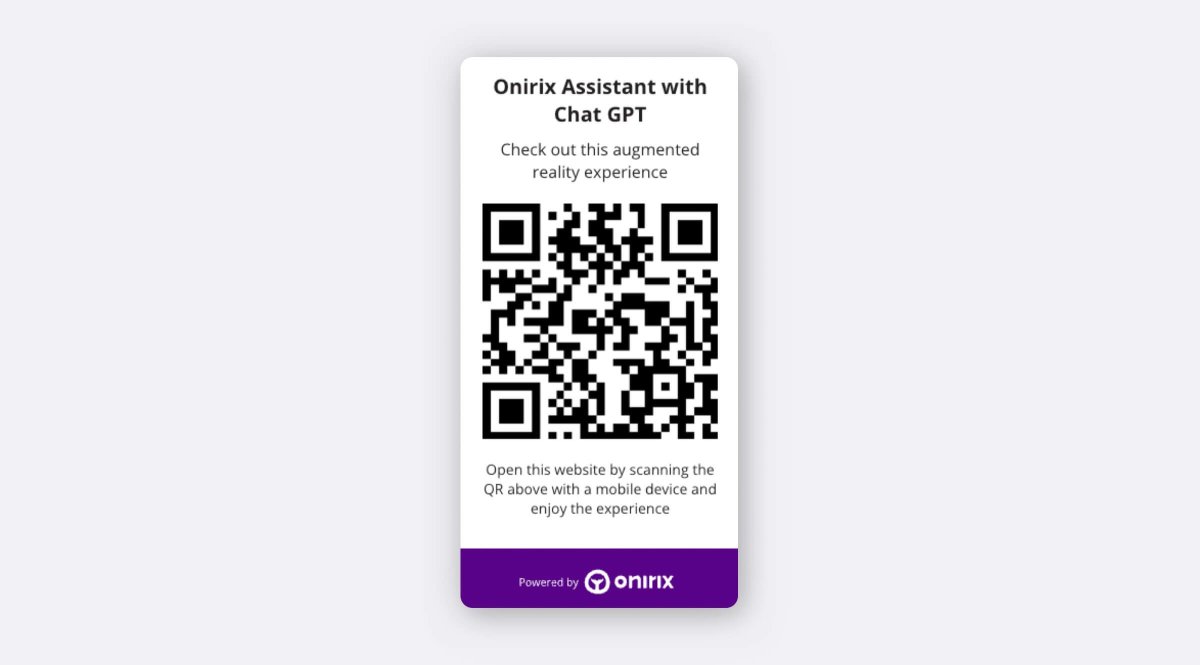
Check the following link to see the final experience in action! Access with the web link: https://studio.onirix.com/exp/37pAae Or also with the QR code:
User interaction: full experience code
Here is access to the full code of the example experience that can be built using the Onirix SDK, connected to the GPT Chat API. As you can see all user interaction is controlled by OnirixExperienceUI class which set listeners to every interactable UI component and set callbacks for each behavior.
Access here to our code example in github.
Conclusion
The combination of technologies such as AR and AI allows us to generate new and innovative ways of interfaces. Both 3D avatars, as in this case, and human-machine interactions, which allow us to know the relevant parts of any complex element, and to directly access what is relevant for the user, operator, buyer, assistant...
If you want to advance a similar experience to this one, remember to generate the right training for your avatar, giving it context and personality, so that it can answer your users' questions in the most appropriate way. The future of AR and AI is vast and filled with potential, and today, you've taken one step closer to mastering it.